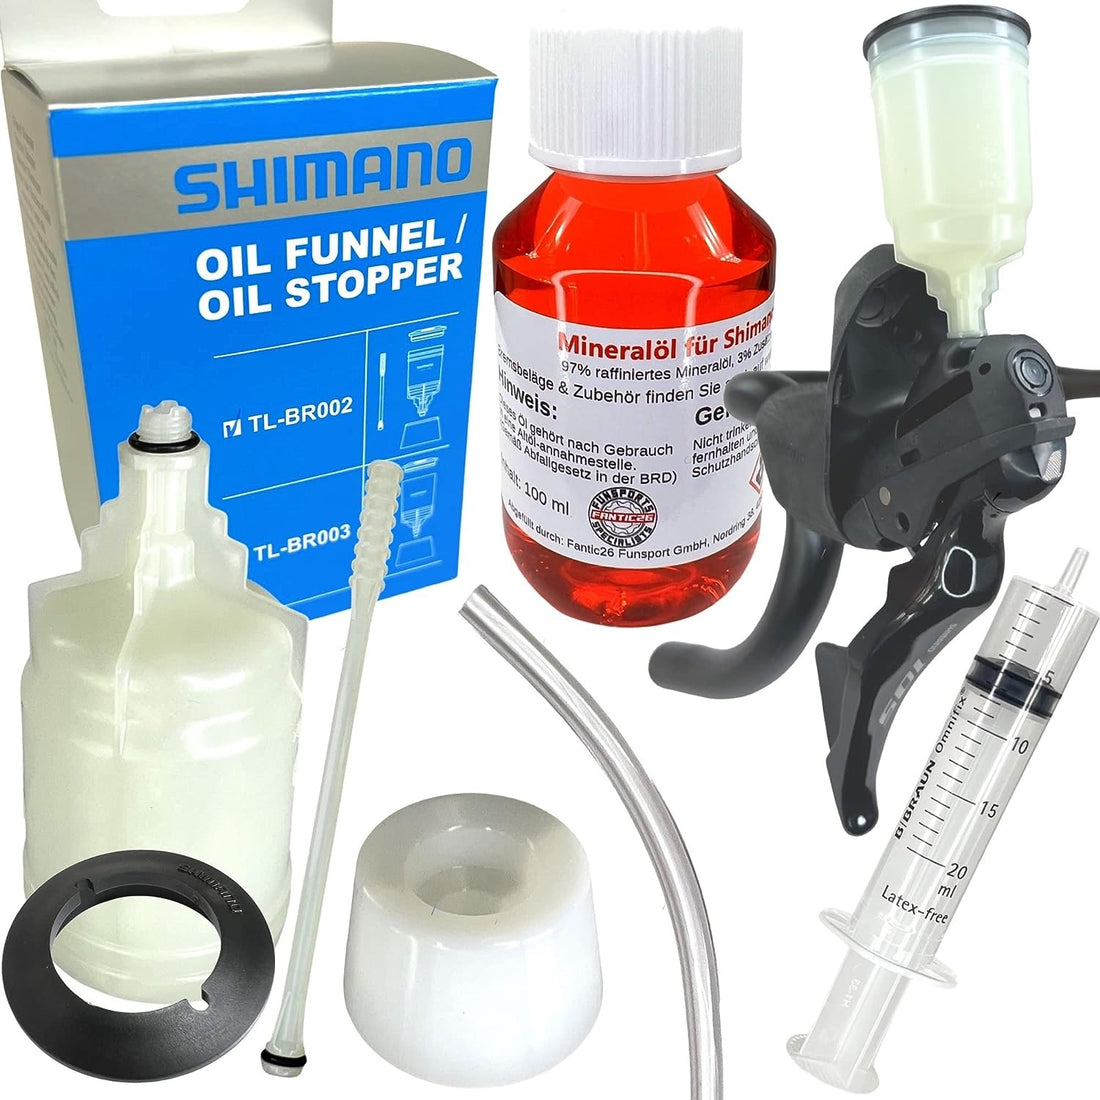
Replacing hydraulic bike brakes is a task that requires some skill and tools. If you are not familiar with bicycle maintenance, it's best to have a professional technician do it for you. Here are general steps for your reference:
Note: Before performing any brake maintenance, make sure you understand how bicycle components work and follow the manufacturer's recommendations and instructions. If in doubt, consult a professional technician for assistance.

Tools and Materials Needed:

- New hydraulic brake kit
- Allen wrench set
- Brake fluid
- Plastic bag or gloves (to prevent oil contamination)
Steps:
-
Preparation:
- Place the bicycle on a flat working surface and ensure its stability.
- Gently pull the brake lever closer to the handlebar to reduce the pressure in the hydraulic brake lines.
- If your bike has rear suspension, you may need to remove it to access a better workspace.
-
Drain the Old Brake Fluid:
- Use an Allen wrench to remove the bolts securing the brake fluid lines to the brake calipers.
- Drain the old brake fluid into an appropriate container. Ensure proper disposal of the used brake fluid, as it is hazardous.
- Use a plastic bag or gloves to prevent skin contact with brake fluid.
-
Install the New Brake Kit:
- Connect the new hydraulic brake kit, making sure all connection points are tightened securely.
- Use an Allen wrench to fasten the brake fluid lines to the brake calipers one by one.
-
Fill with New Brake Fluid:
- Locate the brake fluid reservoir or fill port on the brake caliper.
- Fill the brake system with the appropriate brake fluid according to the manufacturer's recommendations. Typically, you will need a bleeding tool for this.
-
Bleed the Brake System:
- Open the brake fluid reservoir or fill port.
- Bleed the brake system to remove any air bubbles. This usually involves pushing the brake fluid from the caliper back into the system to eliminate air bubbles.
- This may require several attempts and patience to ensure there are no air bubbles in the system.
-
Test the Brakes:
- Before testing your bike, make sure the brake system is functioning correctly.
- Carefully test the brakes to ensure that the brake lever feels normal and the braking response is prompt and effective.
-
Adjust and Test:
- Adjust the tightness of the brake lever as needed to suit your preferences.
- Conduct a test ride in a safe area to ensure that the brakes work properly. Make sure the brakes respond promptly and reliably.

If you are not familiar with bicycle maintenance or are uncertain about this task, it is strongly recommended to have a professional technician perform the brake maintenance to ensure the proper functioning and safety of the brake system. Safety should always be a top priority, so do not take unnecessary risks.

